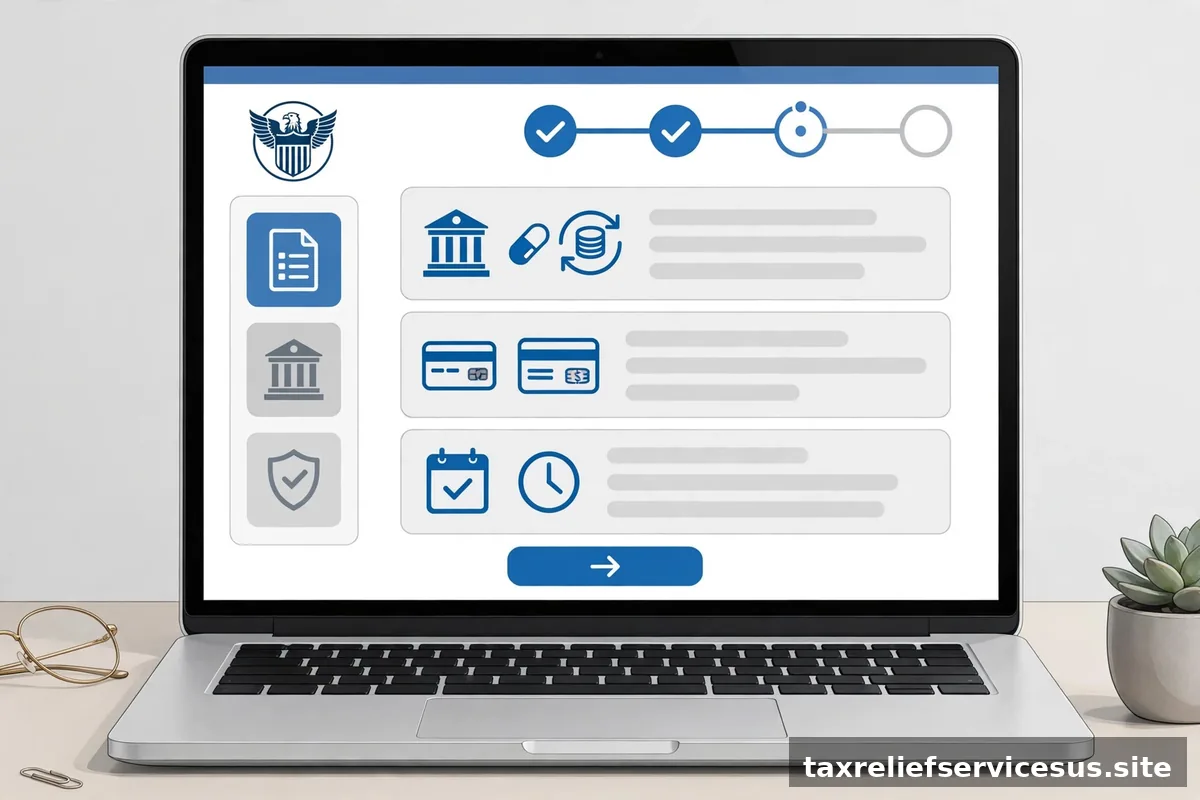
The IRS Online Payment Agreement (OPA) tool is the fastest way for most individuals to set up a payment plan. No phone hold music, no mailed forms — just a web application that, for straightforward cases, approves you on the spot. This walkthrough covers everything you need before you start, what each step asks, and what happens after you click submit.
Before You Start: What You Need
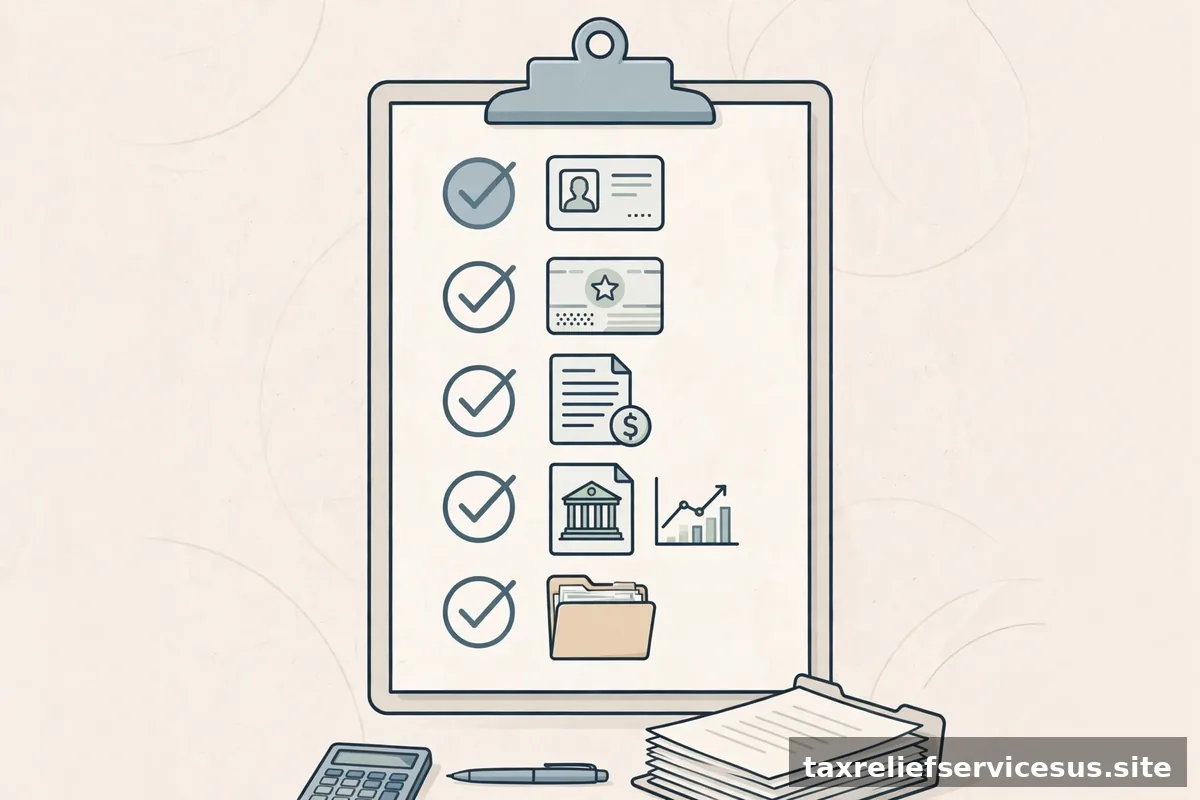
Gather these items first. Having them ready turns a 30-minute ordeal into a 10-minute task:
- Your identity details: name exactly as it appears on your tax return, Social Security number or ITIN, date of birth, and filing status.
- A recent tax return (or at least your adjusted gross income from one) — the IRS uses it to verify your identity.
- Your mailing address from your most recent return.
- Your balance due — from the IRS notice (CP14 or similar) or your IRS online account. Do not guess; the tool will show what the IRS has on file.
- Bank account and routing numbers if you want direct debit (recommended — it carries the lowest setup fee).
- All required tax returns filed. The tool will reject you if you have unfiled required returns. File them first.
Step 1: Go to the Right Tool
Navigate to the IRS Online Payment Agreement application at irs.gov/payments/online-payment-agreement-application. Make sure you are on the real irs.gov — never enter your SSN on a lookalike site. (Tax relief scams often start with fake IRS websites; our 2026 scam guide shows what to watch for.) Click “Apply as Individual” (businesses use a separate path).
Step 2: Verify Your Identity
The tool asks for your SSN/ITIN, date of birth, filing status, and address. It then asks for a figure from a recent return — typically adjusted gross income — to confirm you are who you claim to be. Enter numbers exactly as filed; a mismatch here is the most common reason people get bounced out and told to call instead.
Step 3: Review Your Balance
The tool displays the balance the IRS shows for each tax year, including tax, penalties, and interest. Review it carefully. If a year is missing or the amount looks wrong, stop and investigate (you may need to file a missing return or check a notice) rather than agreeing to pay a wrong number.
Step 4: Choose Short-Term or Long-Term
You will be offered a choice between paying within 180 days (short-term, no setup fee) or setting up monthly payments over a longer period. If you are unsure which fits, read our short-term vs. long-term comparison before you start — switching later is possible but costs an extra application.
Step 5: Propose Your Monthly Payment
For long-term plans, enter the monthly amount you can pay and pick a payment date (the 1st through the 28th). The tool checks whether your proposal pays the balance within the allowed timeframe — generally 72 months for streamlined agreements. If your payment is too low, it will tell you the minimum. Be realistic: this is a commitment, and missing payments can default the agreement.
Step 6: Choose Direct Debit (Recommended)
Select how you will pay each month. Direct debit from your checking account is automatic and carries the lowest setup fee. Payroll deduction is available but notifies your employer. If you choose to pay manually each month (Direct Pay, card, or check), set calendar reminders — the IRS will not remind you before a payment is late.
Step 7: Review, Sign, and Submit
Review the summary: balance, monthly amount, payment date, total timeframe, and setup fee. You “sign” electronically by confirming under penalties of perjury. Submit — and save or print the confirmation page with your agreement details.
What Happens After You Apply
- Immediate approval is common for streamlined individual cases. You will get a confirmation notice by mail within a few weeks.
- Manual review happens for larger balances or special situations. An IRS employee may contact you for financial information.
- First payment timing: your first direct debit usually occurs within 30–60 days. If you chose manual payments, your first payment is due as scheduled — do not wait for the mailed confirmation.
- Stay compliant: file future returns on time and avoid new balances, or the agreement can terminate. See our full installment agreement guide for the ongoing rules.

If the Tool Says No
Rejection reasons include unfiled returns, identity verification failures, balances above the online limit, or currently being in another agreement. Each has a fix: file the returns, call the IRS to verify identity, or apply by phone/mail with financial disclosure for larger balances. A “no” from the website is not a “no” from the IRS — it is a “not this way.”
Managing Your Plan After Approval
Approval is the beginning, not the end. The IRS Online Account (separate from the payment agreement tool) lets you manage your plan over its lifetime:
- View your balance and payment history any time, including how much of each payment went to tax versus penalties and interest.
- Change your monthly payment amount or due date if your finances shift. Small changes may carry a modest fee, but adjusting beats missing.
- Make additional payments whenever you have extra cash — every extra dollar shortens the plan and cuts total interest.
- Set up email notifications so you hear about balance changes and upcoming payments without waiting for mailed notices.
Once a year, the IRS sends a CP521 notice summarizing your plan status. Treat it as an annual checkup: confirm the balance is shrinking as expected, verify your payment method still works (expired debit cards cause missed payments), and make sure you are on track with the current year’s taxes.
Common Online Application Errors (and Fixes)
- “We cannot verify your identity.” Usually a mismatch between what you entered and your filed return — a transposed SSN digit, a different filing status, or an old address. Pull out your actual return and re-enter carefully.
- “You have unfiled returns.” The tool stops here by design. File the missing returns first (the IRS Free File program or a tax professional can help), wait for them to process, then reapply.
- “Your balance exceeds the online limit.” Larger balances need the phone or mail route with financial disclosure. Call the number on your IRS notice to start that process.
- “You already have an installment agreement.” You cannot stack agreements through the tool. Call the IRS to modify or combine — one agreement can generally cover multiple years.
- Session timeouts. The tool times out after inactivity for security. If it boots you mid-application, log back in; you will usually need to start over, which is why gathering documents first matters.
What If You Cannot Afford Even the Minimum?
The online tool computes a minimum monthly payment from your balance and the maximum timeframe. If that number still exceeds your budget, do not force it — an unaffordable plan that defaults helps no one. Instead:
- Apply by phone or mail with financial disclosure. An IRS representative can consider your actual living expenses and may approve a lower payment than the online formula allows.
- Ask about currently-not-collectible status. If your income barely covers necessary living expenses, the IRS can pause collection entirely. See our CNC guide.
- Look into an offer in compromise. If your finances make full payment unrealistic over the collection period, settling for less may be on the table — see OIC eligibility.
- Reduce the balance first with penalty abatement. A successful first-time abatement can cut hundreds or thousands off what you owe, lowering the minimum payment into reach.
Whatever route you take, keep filing on time. Unfiled returns block every form of relief, and the failure-to-file penalty is the harshest one the IRS imposes.
Pro Tips for a Smooth Application
- Apply early in the day. If the tool bounces you to the phone queue instead, calling right when the IRS lines open means shorter waits.
- Use a desktop browser, not a phone. The application has several multi-field screens; small screens cause entry errors that trigger identity-verification failures.
- Have your notice in front of you. The CP14 or balance-due notice has the exact figures the tool expects. Entering a rounded guess from memory is a common failure point.
- Screenshot every screen. If something goes wrong later, having a record of what you entered and what the tool promised is invaluable.
- Do not pay a company to do this for you unless your case is genuinely complex. The online application is free, and many “tax relief” firms charge hundreds for what takes ten minutes. See how to choose a tax relief company if you do need help.
Frequently Asked Questions
Can I apply for a joint balance with my spouse?
Yes. If the balance is from a joint return, either spouse can apply, and both are responsible for the agreement. If you have since divorced, the situation gets complicated — get professional advice.
Can I change my payment amount or date later?
Yes, through your IRS online account or by phone, though changes may carry a small fee. It is far better to adjust proactively than to miss payments.
How much is the setup fee right now?
Fees change periodically and depend on application method and payment type, with online + direct debit being cheapest and low-income reductions available. Check the current fee table on the IRS payment plan page before applying.
Can I still apply on paper if I prefer?
Yes. Form 9465, Installment Agreement Request, can be mailed with your return or separately. Paper applications take longer to process and carry a higher setup fee than online applications, so the online tool remains the better default for most people.
Disclaimer: General information only, not tax or legal advice. IRS tools and fees change; verify current details at irs.gov.